Step 1.
To remove the sash (the part of the window that moves and holds the glass), the sash should be held or propped up in the uppermost position. Use a stick that's cut to the proper length of the sash to support it.
On many window systems with bottom mounted sash brackets, one of the brackets must be removed after the cross-pin on the spiral rod has been disconnected from the bracket before the sash can be rotated out of the jamb.
Some sashes cannot be rotated out of the window jamb until after one of the balances has been removed.
Step 2.
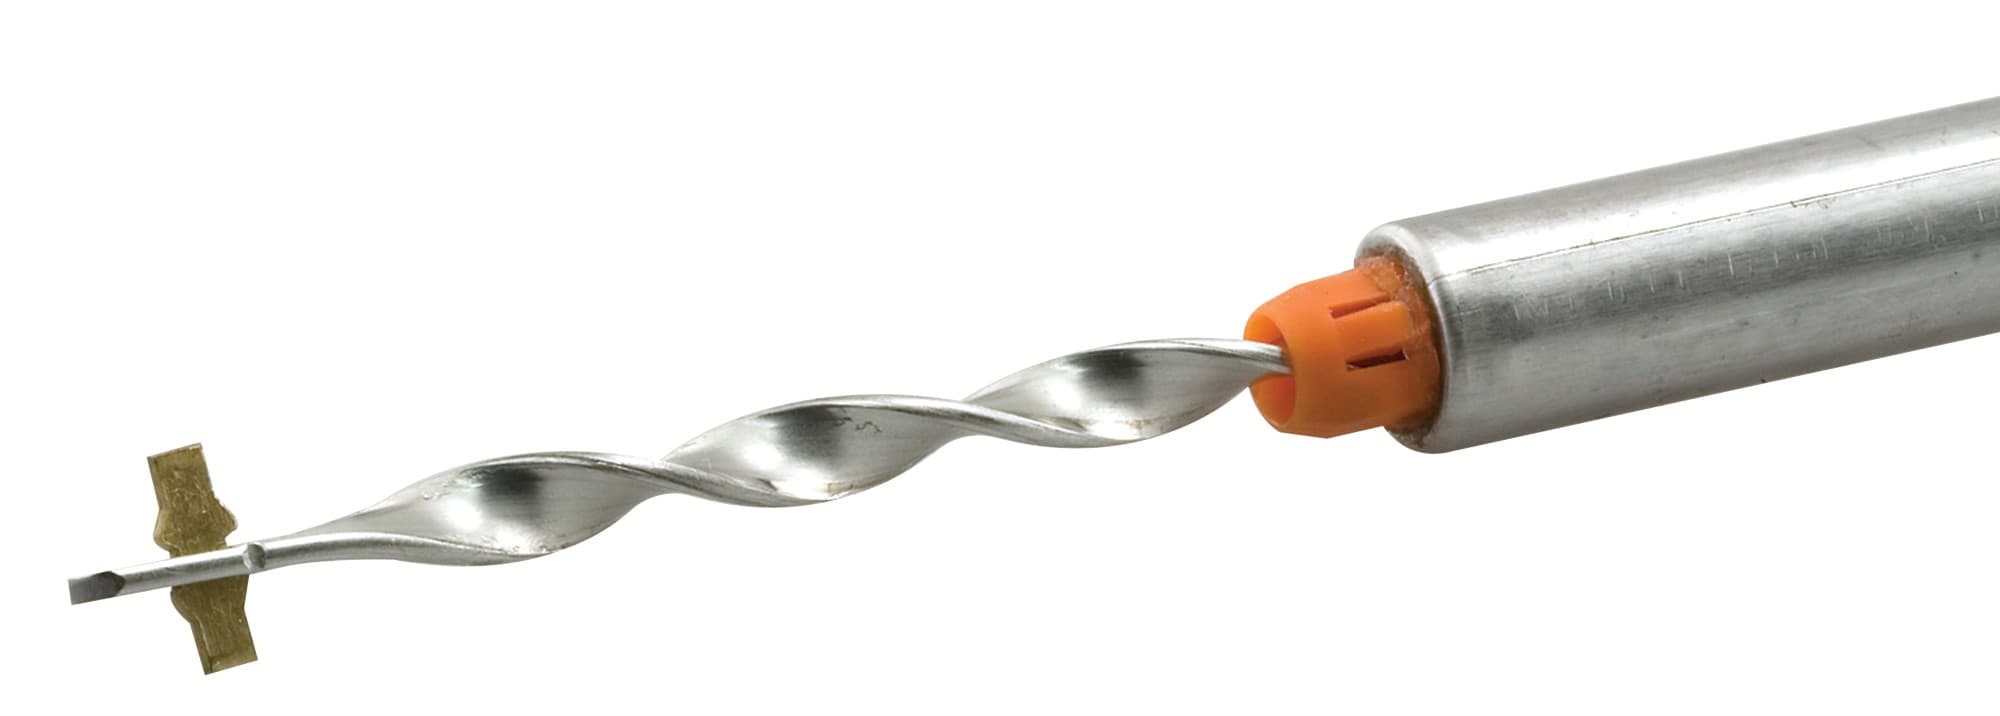
On some windows needing repair, the spiral rod may already be hanging inside the jamb. Hook the point of the tensioning tool into the small hole at the end of the spiral rod. Pull the rod down with the tool about one inch.
Slowly allow the spiral rod to unwind; this will release the tension and allow the rod to drop to the sill when the tool is disconnected. Repeat the procedure on the opposite side.
Step 3.
Remove the stick while holding the sash and lower it to the closed position. Remove the screw that fastens the balance to the jamb and then lift the balance out. If the balance accidentally drops below the top of the sash, use the hook on the end of the tensioning tool to retrieve the balance and lift it up.
You should now be able to lift the sash a few inches and rotate it towards you. If you are having a problem, push the sash into the area vacated by the balance and rotate the other side of the sash. Remove the screw that holds the other balance to the jamb.
When installing new balances, make sure that the sash brackets are in good condition and replace them if necessary. If the sash has side mounted sash brackets, both of them can be installed prior to holding the sash in place.
If the sash has bottom mounted sash brackets, the second bracket can only be installed if someone is holding the sash in place for you or if you have the sash propped up with a stick. Then hold the sash, remove the stick, and lower the sash to the sill.
Step 4.
The next step is to pull the complete length of the spiral rod out from the tube. Feed the spiral rod down the side of the sash. Next, screw the top of the balance along with any sash stops or dust covers to the jamb.
For an easier time, prop the sash up as far as it will go, then mount both bottom brackets. With both brackets mounted, the spiral rod can easily be position between the prongs.
With the sash propped up and with both brackets mounted, hook the tensioning tool into the hole at the bottom of the rod. Then rotate the tool six complete turns. Allow the rod to retract so that the cross-pin seats into the prongs of the bracket securely. Repeat the procedure for the other side of the sash.
Step 5.
Remove the stick and check the operation. If the sash does not stay in the raised position, mount the face guides and check the operation of the sash again.
If the sash continues to fall or doesn't stay in the raised position, replace the stick, unhook the rod and add a couple of more turns with the tensioning tool on both sides. When the sash stays in a raised or partial ventilating position, prop the sash up, unhook the rod and decrease the tension on both sides.
Your spiral balance is now replaced and your window is ready to be used.